Before You Pull the Trigger: Masking, Prep, and Protecting the Jobsite
- Aug 24, 2025
- 9 min read
Spray foam doesn’t just land — it finds things. The edge of a window trim, the underside of a garage door opener, the tiny crack around a light fixture. It expands, it bonds, and once it sticks, it’s not coming off without a fight.
The truth is, a clean install doesn’t start with a great spray gun — it starts with preparation. Masking, taping, protecting, checking. If the jobsite isn’t ready, your best pass might still end in a mess. And that’s where callbacks, cleanup, and blame begin.
This isn’t about being picky — it’s about being professional. Because every minute you spend prepping is ten minutes you won’t spend scraping foam off a window later.
The Real Cost of Skipping Prep
Overspray isn’t just cosmetic. If foam lands where it shouldn’t — HVAC returns, trim, glass, carpet — you’re dealing with more than a bad look. You’re potentially damaging materials, risking poor adhesion, or even triggering indoor air complaints if porous items absorb the curing odor.
Failing to prep doesn’t just slow you down — it makes you liable. And while masking might not show up on your invoice, the absence of it absolutely will.
What Needs to Be Protected (and How to Do It Right)
Outlets and boxes should be sealed tight with foam-safe tape. Use sheathing tape or white vinyl, not painter’s tape, which lifts mid-spray and leaves you guessing. For open boxes, lightly stuff with poly or a scrap of cured foam before taping flat.
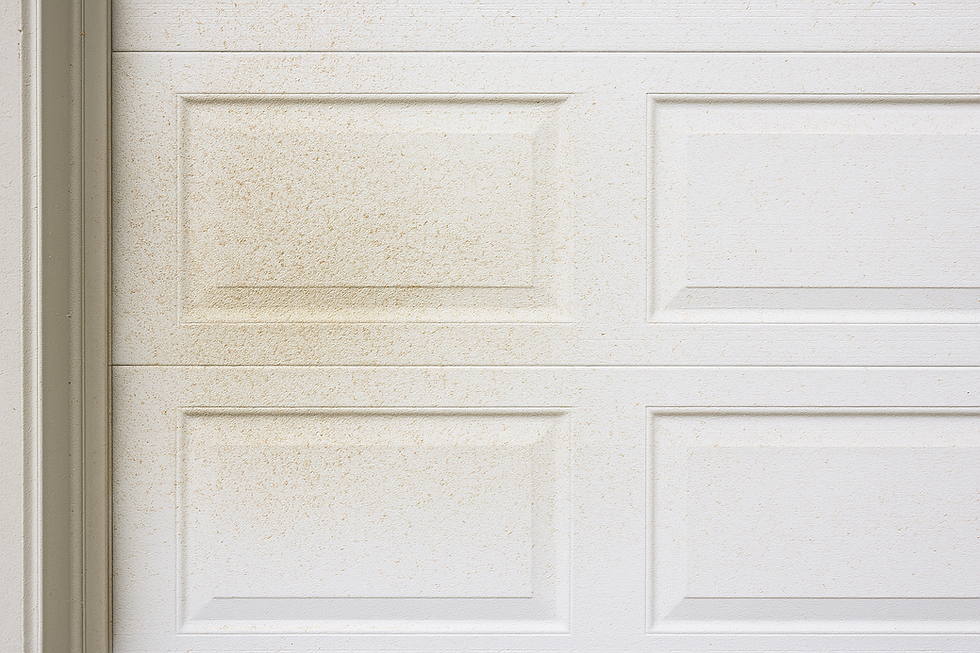
Garage doors, tracks, and openers are common overspray traps. Motors and tracks should be covered fully with poly and secured with tape that won’t fail under heat. Don’t forget the safety sensors — they love to catch foam in the middle of a pass.
Windows, trim, and glass need double-duty protection. Go beyond drop cloths — use poly sheeting, tack it flat, and double over edges or corners. Even slight blow-back from a roof deck or gable can drift far enough to stain untreated trim or catch on exposed window hardware.
HVAC systems are another overlooked weak spot. Supply vents, returns, and grills should be sealed off or removed entirely. If your foam finds its way into ductwork, you're not just cleaning — you’re explaining how it got into a child’s bedroom four rooms away.
Lighting, fixtures, and ceiling fans are all prime overspray candidates. Cans and exposed bulbs should be masked tightly or removed. If the fixture gets warm, use materials rated for the temperature or leave space for ventilation.
Floors — especially concrete — should be covered completely with 6 mil poly. Tape all seams. If the floor gets foam, especially in its raw or unfinished state, you may be replacing sections rather than cleaning them.
Steel, PVC, glass, cabinetry, polished trim — these are surfaces that foam bonds to aggressively. If you’re not absolutely confident they’re covered, stop and fix it. Cleaning is possible, but it’s labor. In some cases, replacement is your only option.
Don't Forget the Eave Gap

One of the most overlooked areas on a spray job — especially in unfinished structures or metal buildings — is the open gap where the roof deck meets the top of the wall. If that space is exposed and not masked or sealed, it becomes a direct tunnel to the outside. Or worse, a perfect path for foam to drift out of your work zone and into soffits, siding gaps, or the client’s landscaping.
It’s especially common in pole barns, uninsulated garages, or homes where the soffit framing hasn’t gone in yet. Spray foam loves to find these exit points — and it will.
If there’s an open eave, treat it like a window opening: use foam board, cardboard, or some netting to maximize your yield and prevent overspray. A little prep here saves you from the embarrassment of foaming someone’s cedar soffit vents or blowing overspray onto a neighbor’s siding.
The Role of Wind, Airflow, and the Elements
Spray foam doesn’t just settle neatly in place — it drifts. Especially when you’re working near large openings, exposed bays, or on an unfinished build. A gust of wind or pressure difference inside the building can push foam across 10–20 feet or more. If the jobsite isn’t sealed off, you’re essentially spraying into a moving air column.
It’s not just the wind you feel — it’s negative pressure pulling foam into hallways, wall cavities, stairwells, or attic bypasses. That includes stack effect in multi-story homes and thermal drafting in open buildings.
If you’re spraying in a building that’s not closed in, wait for a calm day or find a way to contain the foam zone. Board up the garage door. Poly the end wall. Build temporary barriers. Whatever it takes to stop the breeze from turning your precision pass into a foam cloud.
And if you’re outside? Don’t spray in the wind. Full stop.
Should You Tape the Stud Faces?
This one sparks debate — especially in new construction. Some GCs expect it. Some foam guys swear against it. The reality? It depends on the job, the finish level, and who’s touching the wall after you’re gone.
Taping stud faces before spraying can give a clean edge and prevent foam buildup where drywall will be fastened. That’s useful in high-finish interiors or when you're working for a GC who doesn’t want drywall crews grinding foam off later. It also gives you a clear termination line if the cavity isn’t being fully filled.
But here’s the tradeoff: it takes time, it adds cost, and it’s not always necessary — especially if you’re filling flush and trimming afterward. On rough framing, basements, or garages? Probably overkill.
If you do it, do it right:

Use high-adhesion masking tape that won’t curl or peel mid-spray.
Press tight along the edges — foam loves to creep under loose edges.
Remove after spraying while it’s still pliable; once foam hardens across the tape edge, you’ll be shaving anyway.
When it makes sense:
High-end residential with finished interiors
Commercial TI work where walls are exposed
Jobs where you’re only partially filling cavities
Anywhere the next crew expects to install flush against the stud face
When it doesn’t:
Full-cavity fills where studs will be shaved or trimmed
Unfinished basements or utility spaces
Retrofits where framing isn’t square to begin with
Anywhere time, labor, or budget are tight and the payoff is minimal
Bottom line: Taping stud faces isn’t mandatory — but it can be a smart move when clean lines matter. Just don’t do it blindly. Know why you’re doing it, and make sure the GC or client understands what it adds (and doesn’t).
Red Flags Before You Spray
Some items aren’t just vulnerable to overspray — they actually absorb the odor of curing foam and hold it long after the job is done. These are the jobs where callbacks start with, “It still smells in here.”
Carpet is at the top of the list. Foam smell latches onto carpet fiber and pad, especially open-pile or older material. If the client insists on keeping carpet in place during a spray, be honest — the odor may linger permanently. Heavy-duty poly sheeting, edge-taped flat, is the bare minimum.
Fiberglass batting left in the cavity is a no-go. This is one that gets a lot of contractors in trouble! It’s not just a thermal issue — it’s a smell trap. If foam expands over fiberglass, especially open-cell, the fibers can soak up VOCs and hold onto them long-term. Don’t spray around it. Don’t spray through it. Just remove it.
Stored belongings, furniture, books, clothing, boxes — all of it can act like a VOC sponge. If there’s an open-air path between your foam and the fabric, you might be smelling it on someone’s bedding three weeks later.
Attic hatches, unsealed doors, leaky ductwork — foam smell doesn’t need a straight shot. It finds its way. If a space is connected to your spray zone, even loosely, seal it off like it matters.
And if there’s old foam on-site — from a previous job, improperly sprayed or off-ratio — it can reactivate odor or confuse the client about where the smell is coming from. If you're spraying anywhere near it, cut it out and replace it. Otherwise, that smell becomes your problem.
Best Practices to Avoid Foam Where It Shouldn't Be
Mask twice as far as you think foam can reach. Don’t underestimate blow-back or drift, especially in open attics, curved structures, or when working with high-pressure systems. Always use poly sheeting or professional-grade masking film — drop cloths breathe, and foam finds its way through.
Keep masking flat, taut, and well-sealed. Creases, folds, and raised seams create airflow channels that lead foam straight to the gaps. Press down edges, double-layer in corners, and anchor low to prevent curling during a warm pass.
When in doubt, seal off entire rooms, not just the spray surface. Don’t try to precision-mask a room full of trim and millwork — just build a containment wall and keep the foam where it belongs.
And be upfront: some materials may need to be replaced if they get hit. That includes painted trim, finished glass, vinyl window frames, and especially carpet. Tell the client now — not while holding a scraper and a bottle of adhesive remover.
What to Do If You Missed Something
Foam ends up where it shouldn’t? Don’t panic. Let it cure — then address it carefully based on the surface. The golden rule: never smear fresh foam, and don’t go at cured foam with brute force unless you're okay with damaging the material underneath.
Metal (Framing, Garage Doors, Trim)
Once cured, foam can usually be removed with a plastic scraper or wood blade. Start gently. If you’re dealing with a painted or powder-coated garage door, test a small area first — you’re trying to lift the foam without scratching or stripping the finish. A light spray of WD‑40, Goo Gone Pro, or citrus adhesive remover can help break the bond.
For unpainted steel or aluminum siding, cured foam can often be popped off clean with a sharp putty knife, but always push with the grain and be cautious near seams. Avoid solvents like acetone — they can discolor coatings or cloud the surface.
Vinyl or Painted Siding
Foam on vinyl siding is a common overspray mishap — especially near eaves and garage bays on windy days. Let it cure fully. Gently peel or scrape the bulk of it off using a plastic edge, then remove residue with a non-abrasive adhesive remover. Test cleaners first; some vinyl finishes react to citrus solvents or alcohol-based sprays.
For painted wood or fiber cement siding, cured foam may require careful shaving followed by repainting. If the finish is fragile or chalky, replacement may be faster than full restoration.
Glass (Windows, Mirrors, Panels)
Let the foam cure, then use a razor blade at a shallow angle with water or mild solvent. Don’t rush — foam should flake, not smear. Buff clean with a microfiber cloth. Avoid abrasives that could scratch the surface.
Trim, Millwork, and Finished Wood
Fresh foam on finished wood? Blot with a dry cloth — don’t wipe or spread. Once cured, slice away the bulk with a utility blade, then spot-clean residue using a foam-specific cleaner or low-strength solvent (test first). Some finishes — like stained trim or raw pine — may darken or swell, so be ready to sand and repaint if needed.
Concrete or Masonry

On porous concrete, foam bonds tight. Your best bet is a wire brush or grinder to clean it off completely — solvents rarely help here. On sealed or painted concrete, try mechanical removal first, then test light solvent if needed.
Clothing, Skin, or Equipment
If foam hits clothing and cures? It’s not coming out. On skin, let it dry and flake off — solvents can irritate or damage your hands. For tools, let foam cure on spray guns and clean with the correct solvent (not acetone unless approved). For hoses, tape them off before every job and replace the wrap when it gets fouled.
Using Foambid to Bill for Site Prep & Cleanup
Masking takes time. So does unmasking, cleanup, trash removal, and protecting yourself from a homeowner who “was going to have it ready.”
Foambid makes it easy to build those real-world costs into your quote. With the “Add Additional Expense” tool, you can clearly separate prep, cleanup, or any other job-related time or cost — without muddying up your foam material or labor math.
Let’s say you’ve got a retrofit job with tight spaces, furniture still in place, and fragile trim that’ll need double-masking. You estimate an extra hour or two for setup and teardown. In Foambid, just toggle on “Add Additional Expense”, label it something like:
Site preparation / clean-up
...and enter your cost and markup. For example, if it’ll cost you $200 in time and materials, and you want to bill the client $250, it gets baked right into the job — clearly itemized, fully transparent.
No guesswork. No eating costs later. No trying to explain to the client why cleanup wasn't “included.”

This feature is especially helpful for:
Jobs with delicate trim or cabinetry
Retrofits in occupied homes
Work near sensitive HVAC, carpet, or finishes
Spray areas with active construction mess
Projects where you suspect masking will take longer than the actual spray
Using the Add Expense field isn’t just about money — it’s about communicating that good prep is part of professional work, and it has value. Because if you’re the one on the ladder wrapping ductwork in a 90° attic, you shouldn’t be giving that labor away for free.
Final Word
Masking isn’t a suggestion — it’s part of the job. It’s the difference between a clean, confident install and hours of apologizing to a homeowner about their now-textured window trim.
Good masking shows respect — for your craft, for the jobsite, and for the people who’ll live in the space after you're gone. And when you walk off that site with nothing but clean lines, sharp edges, and no foam where it shouldn't be? That’s the work people remember.
Prep like it matters. Because once you pull the trigger, you don’t get to take it back.

by Gage Jaeger, Owner and Founder of Foambid


Comments